While many prefer to purchase their cannabis from a dispensary, there are some who find enjoyment in growing and nurturing their own cannabis.
There are benefits to growing cannabis outdoors instead of purchasing from a dispensary, it can be a very time-consuming process but still a rewarding one! In this guide you’ll learn how to grow quality cannabis without needing to sell your possessions to cover the cost. Do not miss a single step in this guide, otherwise you could end up with a disappointing yield at the end of it.
There are also challenges when growing cannabis outdoors, however there are many benefits to doing so. It’s an eco-friendly method that doesn’t use electricity because of the natural rays from the sun. Add in that there’s also no need for ventilation equipment, your electricity usage is minimal. This also helps keep your costs low assuming you have your crop placed in the right location. You’ll need to keep an extra eye out for pests and weather, but you’ll soon see your bud begin to cultivate. Larger yields come from growing cannabis outdoors to nearly six feet tall and can yield 500 grams of dry bud. Growing cannabis outdoors also gives your buds a distinct flavour and aroma that you’ll enjoy with every smoke.
Step #1: Growing Cannabis In Outdoor Climates
The climate in which your plants are left to grow in is crucial to the result of your yield. The amount of available sunlight is key to giving your plants what it needs to grow effectively. Cannabis is adaptable to different weather conditions which is why it’s able to grow in many places around the world. However, it can still be vulnerable to extreme temperatures and weather conditions which is something to be prepared for. Temperatures over 30 degrees Celsius can prevent your cannabis from growing where temperatures below 12 degrees Celsius can kill your cannabis plant. Keep your temperatures between 13-29 degrees Celsius for optimal health of your plant.
Step #2: Getting The Right Location
Growing cannabis outdoors means letting your plants bask in the sun. Find an area that gives your plants a minimum of five hours of sunshine per day, however, make sure the temperature doesn’t exceed 30 degrees Celsius or you’ll cause damage to your crop. The ideal area is somewhere that gets direct sunlight in the early hours of the day, with a constant breeze, while being filtered through later in the afternoon. Areas that have high winds should have a wall or some sort of barrier to act as a windbreaker, these also aren’t bad to have to ensure privacy for your crop. There are some great areas to consider when growing cannabis outdoors. From both a conditions and security perspective, you need to have an area that will ensure safety for your plants.
- Balcony: This has its own set of pros and cons. Using your balcony when growing cannabis outdoors gives you easy access to your crop and makes it difficult for anyone to steal your yield. However, it’s also highly visible to anyone looking up at your balcony. Try utilizing a frosted plastic film on your balcony to conceal your plants and minimize the scent that comes from cannabis.
- Personal Garden: This is a great option for home growers who are green thumbs. Growing cannabis outdoors in your own garden grants you many advantages that can make this the most ideal location to grow your crop. You have more control over your garden in terms of environment and security.
- An Open Field: While this is a good option it may not be the best depending on the level of security available to you. Growing in an open field leaves you wide open to theft and is visible to on lookers. Camouflaging with other plants is essential to trying to hide your crop from onlookers. When growing cannabis outdoors in an open field, find an area of land where nettles grow. This indicates the soil is rich in nitrogen which is an essential nutrient to grow your cannabis.
Step #3: Soil Matters
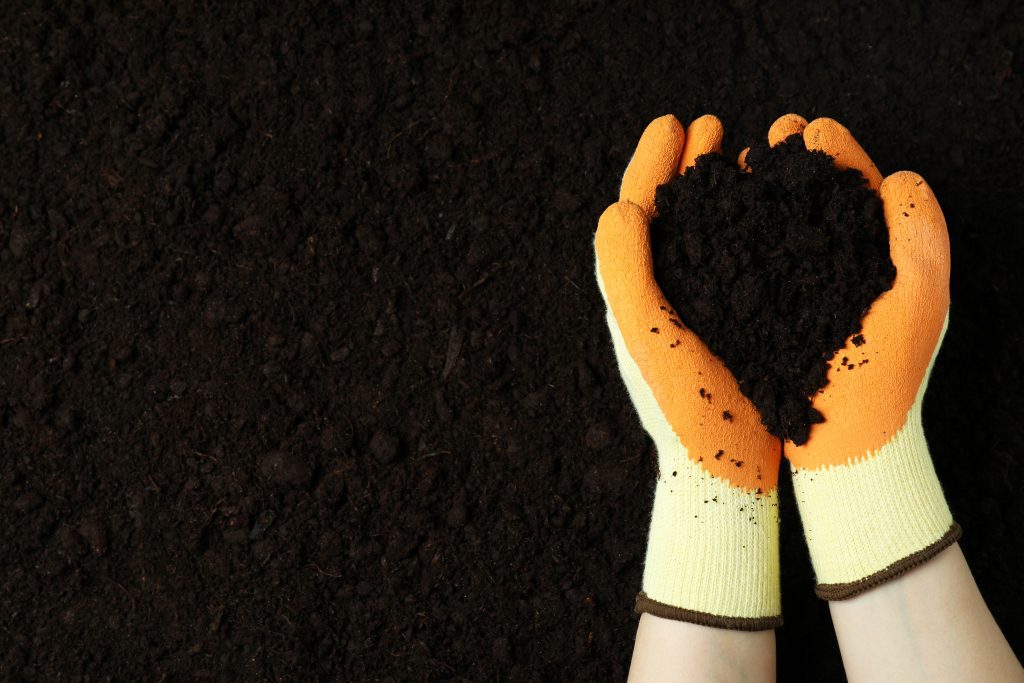
You should germinate during the early spring because in warmer climates, seeds can begin to sprout as early as April. For environments in cold weather, this process can be delayed until May. It’s crucial when choosing the soil for growing cannabis outside that it is made primarily of clay, sand, and silt. Acidic soil with organic matter is needed for your plants to grow and cultivate a successful yield. Test the soil you’re using before you plant your cannabis into it.
Step #4: Fertilize Your Plants
When growing cannabis outdoors, it’s best to focus on organic fertilizers for your crop. Add it to the soil before you plant and continue to do so throughout the growth cycle of your cannabis plant. Organic fertilizer options can be:
- Compost
- Kelp Meal
- Blood meal
- Fish meal
- Worm castings
Adding any of these options to your soil before planting prevents you from needing to add more during the growth cycle. The most effective fertilizer is compost as it’s cheap and relatively simple. You can utilize a wide variety of organic matter from fruit skins to animal manure as a method for fertilized. However, avoid using animal fat or meat to prevent pests from invading your plant. When adding compost, make sure you layer the heap and ensure it has adequate airflow. Turn the heap every few weeks and consistently test the pH levels to ensure it’s balanced.
Step #5: Your Cannabis Plants Need A Drink
It’s no shocker that plants need water to survive. A benefit to growing cannabis outdoors is the exposure your plants receive to rainwater. However, you may need to water more frequently during the summer months when there is a lack of rainfall. The trick is making sure you don’t overwater your cannabis plant, as a rule of thumb a large plant needs 10 gallons of water daily during high temperature days. If you live in a dry, hot climate try digging beneath your plants before adding rocks or soil as a means of slowing water drainage from the plants.
On the flip side, you may need to improve your drainage if you live in a wet climate. When waterlogged, your cannabis plant can become susceptible to root diseases which effectively kills your crop. If you find you’re needing to improve your soil drainage, try planting your cannabis in beds or raised mounds. You can also dig ditches to flow the water away from your plants or utilize pebbles and gravel to the soil.
Remember to test your water first before you tend to your cannabis plants to ensure the pH level is not impacted. Especially if you are using tap water, as it usually contains an excessive buildup of chlorine which is bad for the soil. Filtered water is recommended if tap water is you’re only option.
Step #6: Watch Out for Pests and Bad Weather
Weather is a major challenge when it comes to growing cannabis outdoors. Plants become much more vulnerable to inclement weather and outdoors growers face this disadvantage. They are also more prone to pests and pets attacking the plants which couple with rapid weather changes can damage or kill your cannabis plant.
It’s crucial to examine your cannabis plants daily as they can be damaged in a matter of minutes depending on whether a large animal came across it. Try surrounding your crop with a high, sturdy fence to prevent animals and other pests from damaging your crop. Dig your fence 2-3 feet beneath the soil to deter threats like moles who come up from beneath the soil in your plants. You can also utilize garlic and castor oil as effective deterrents for pests.
When it comes to weather, high winds are a significant problem for growing cannabis outdoors. Wind can damage your plants instantly depending on the speed at which it’s blowing. Your plants could have broken branches and be left vulnerable for infestation due to stress. A windbreaker wall is an effective way to prevent wind from damaging your crop.
Step #7: Growing The Right Bud
The cannabis strain you decide to grow needs to be inline with the climate and environment you’re planting it in. Otherwise, like any other plant, it will only die in the conditions you place it in. No matter how much care and attention you provide, if the climates not right, it won’t grow. Keep in mind, your cannabis plants will start to flower as the days start to get shorter. This can be a problem when you start in the late summer.
There’s another factor to consider outside of climate and that’s the genetics of the cannabis you’re growing. Plants that you grow from seeds will offer a larger yield and provide more versatility when faced with inclement weather. Seeds can be planted in the spring regardless of if it’s cold and wet outside. A downside to growing your cannabis outdoors from seeds is a less-predictable outcome than if you were to grow utilizing clones. Also, cannabis seeds produce males and females. This means you must sex your plants when they achieve sexual maturity. This process involves culling the male plants. You can avoid this issue by purchasing feminized seeds.
Step #8: The Trimming of Your Plant is Everything
An essential component to growing cannabis outdoors is pruning/trimming your plants consistently. This will prevent them from growing too high and can also stay in a specific shape. Trimming your cannabis plant often will help attain the optimal growth you’re looking for. Leaving dead leaves and branches will cause pests to attack and possible take home in your roots. Make sure your female plants are not exposed to males because pollination could occur. This will drastically decrease the quality of your crop.
Step #9: Time for Harvest
Depending on the strain and climate of your crop, cannabis can begin to harvest between the end of September and the middle of October. Generally, the growing process takes between 2-8+ months and you’ll know its harvest time with about 70% of the pistils turn from white to a reddish-brown color. If it’s red, harvest right away!
It’s crucial to not wait too long to harvest your cannabis plant otherwise they could begin to decline in health once they get past the flowering phase. It’s believed that an indica strain should be harvested eight weeks after flowering where a sativa strain requires ten weeks to harvest after flowering. When you’re beginning your harvest, make sure to have the appropriate tools with you. Sealable bags are your best friend so you can place all the buds you harvest into them for added security.
Now you have your first crop cultivated and harvested! See, that wasn’t so bad.